Visual Studio 2017: x86 MASM32 Assembly Setup
This guide will walk you through setting up Visual Studio 2017 for an assembly project that's assembled using MASM32. Specifically, this is for console applications that can run on your 64-bit Windows machine without the use of an emulator. That being said, interrupt vectors are still unavailable because 64-bit Windows NT uses NTVDM.
Step 1.
Open up Visual Studio 2017; we're going to ensure you have a few things installed.
Tools -> Get Tools and Features
You will need both:
-Windows 10 SDK
-VC++ 2017 ... latest tools
File -> New Project -> Visual C++ -> Empty Project
Project -> Build Customizations -> Select "masm" and click OK

Step 4.
Debug -> Options -> Debugging -> General -> Enable address-level debugging

Step 5. (OPTIONAL)
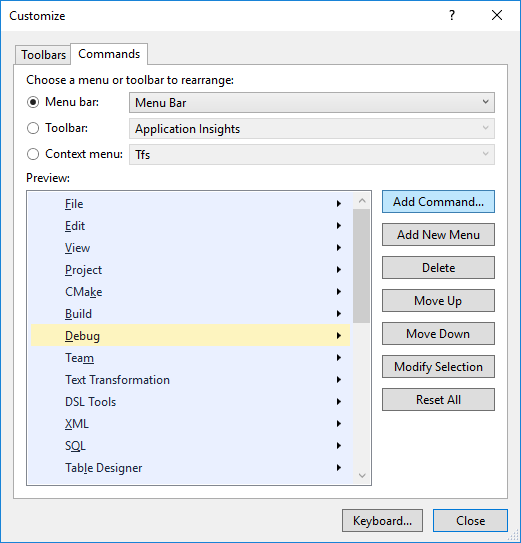
This part enables register debugging so you can see the registers and their values, it's pretty useful!
Tools -> Customize -> Commands -> Select Debug then click "Add Command..."

Debug -> Select "Registers" -> OK

Select your project under "Solution Explorer".
Either:
Right-Click -> Properties OR
Project -> Properties

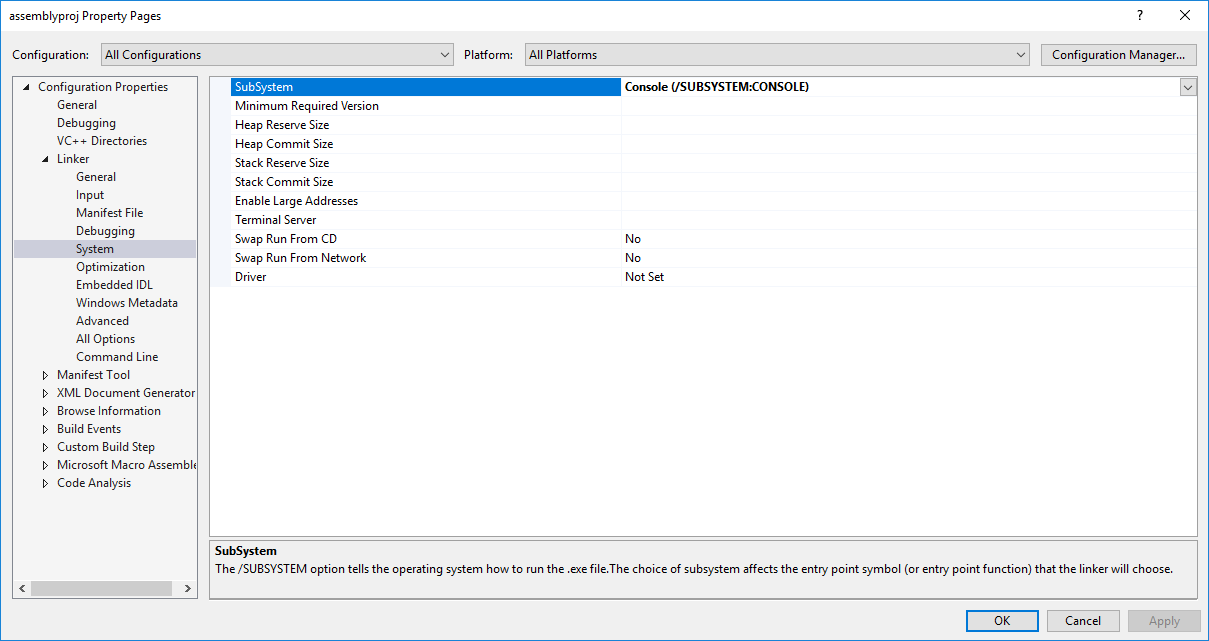
Linker -> System
Set Configuration to "All Configurations"
Set Platform to "All Platforms"
After you set both the platform and configuration, now set the subsystem to "Console (/SUBSYSTEM:CONSOLE)"

OPTIONAL:
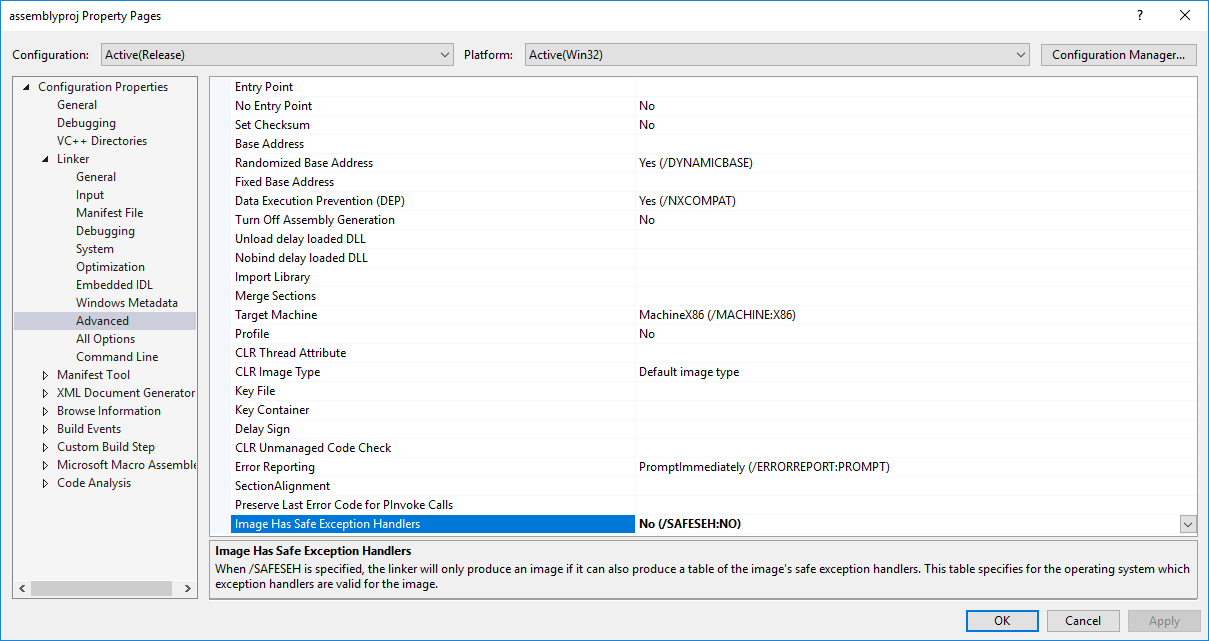
This part is optional, however there's a likely chance you'll have an issue related to SAFESEH being enabled. Turn it off ahead of time by going
to (in the same project properties window):
Advanced -> Set Image Has Safe Exception Handlers: No (/SAFESEH:NO)

The next part is installing ASMDude, it helps with syntax highlighting, label analysis, documentation, etc. - essentially intellisense. Without this,
writing your assembler code will be equivalent to writing in notepad.
Tools -> Extension and Updates -> Online -> Search "AsmDude" -> Download + Install it
